An expressive shining eye tutorial :Part II
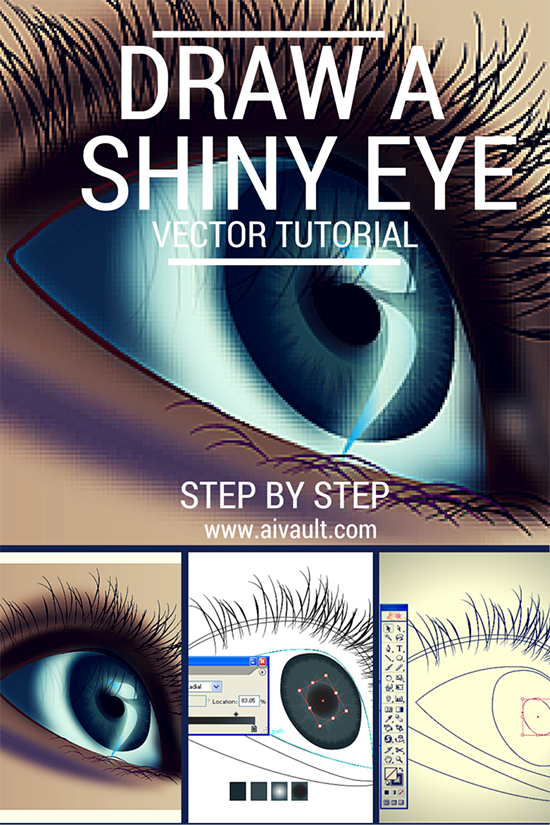
How to draw a human eye in vector step by step
This tutorial will show you how to create an expressive eye as part of a portrait , This is a follow up tutorial of How to draw expressive eyes PART 1
in the last part we were starting work on the white area as seen below . This is how the coloured areas at this point look like

Apply the gradient
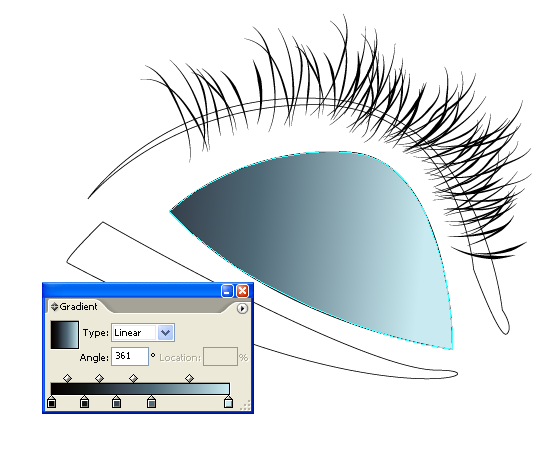
Play around and adjust the gradient.

Create a copy of the white area of the eye. Using the knife tool cut out the copy of the white area as seen below.
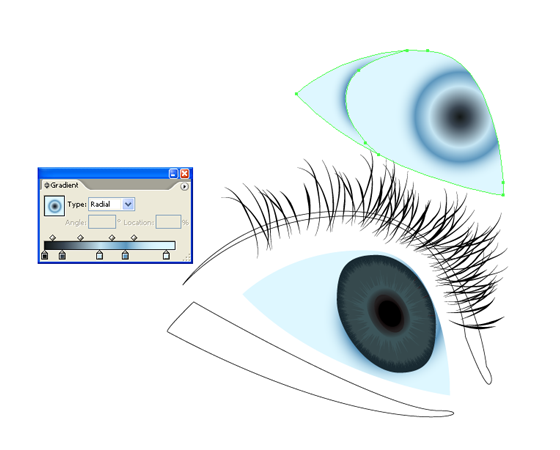
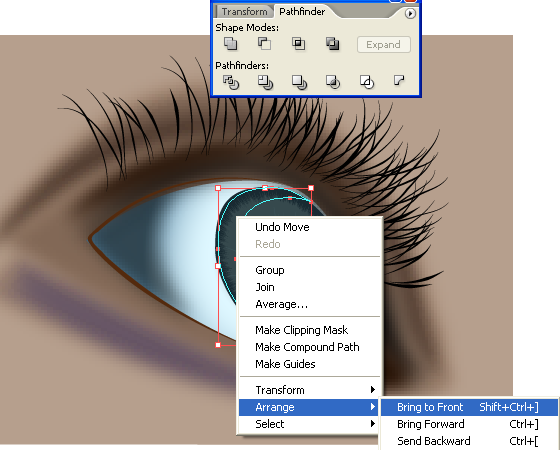
Place the cut out over the white area , arange it to be at the front . ie right click > arrange > bring to front.
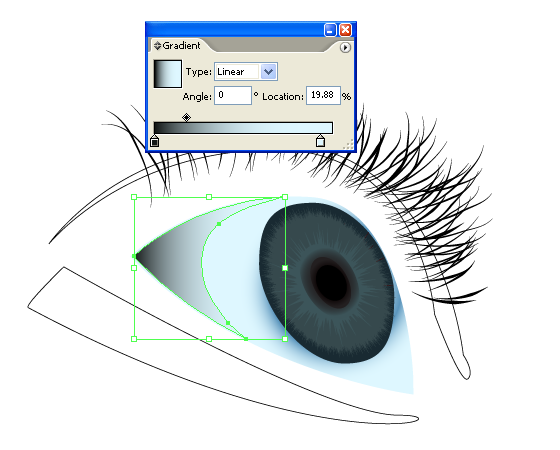
Now create a shape as seen , this will be our eye lid. Create two shapes one inside the big one select both of them , and shade the bigger one a lighter tone than the smaller one.
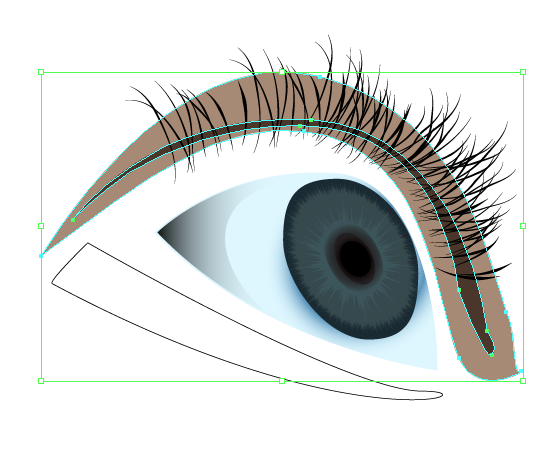
Use the blending options in order to apply gradient to the eye lid .
ie Object> Blend> Blend options , Work through specified steps which again will depend of your working drawing size . here is what i chose.
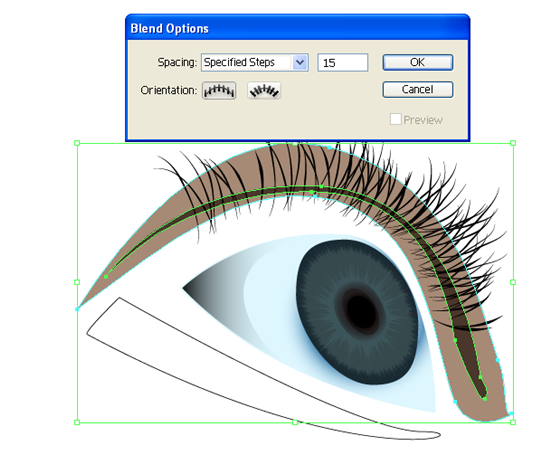
Make the blend as seen below.

The result is ….
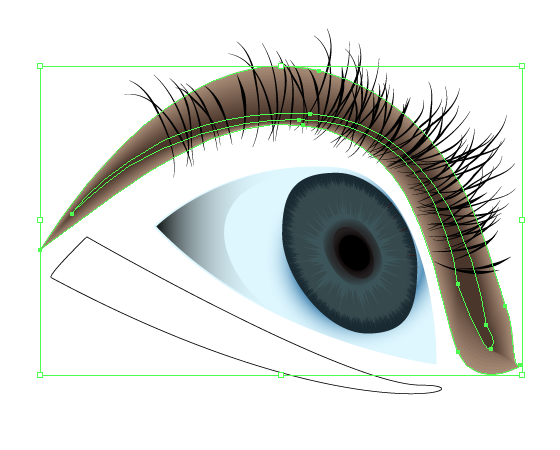
Now we will repeat the same with the lower shade under the eye. 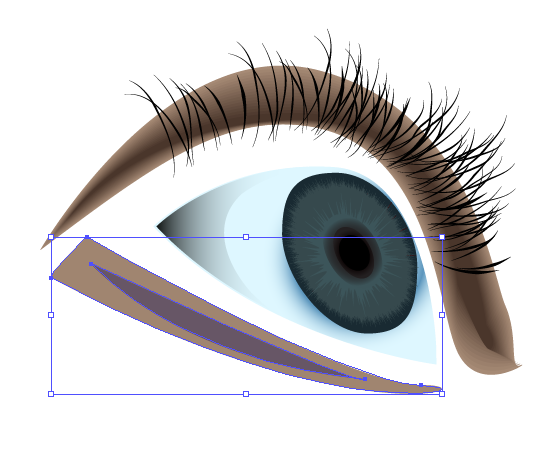
here we will work on the deep area of the eye , inner one.create the shape
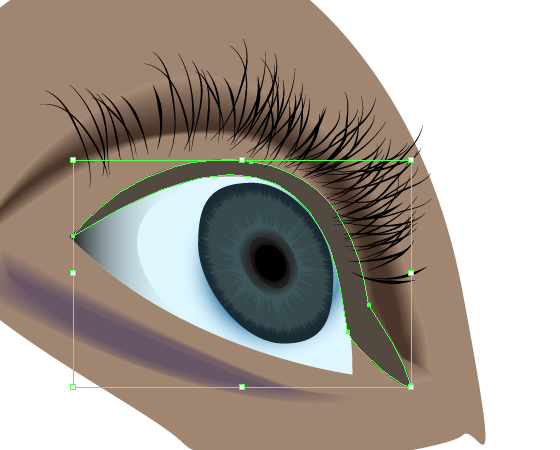
Create an inner shape as well adjusting the paths to get your desired result. This will be our Hair Growth area of the eye..
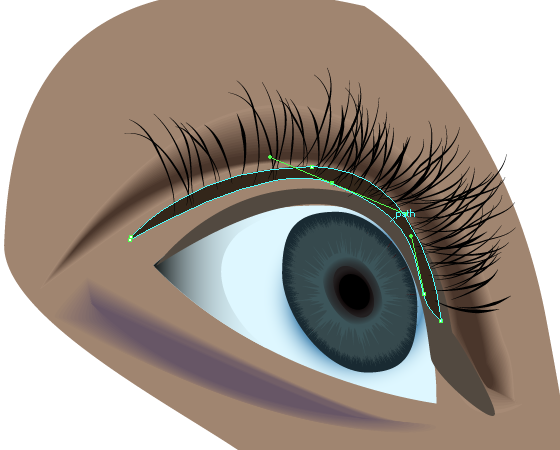
Place it quite aligned to the hair placement.
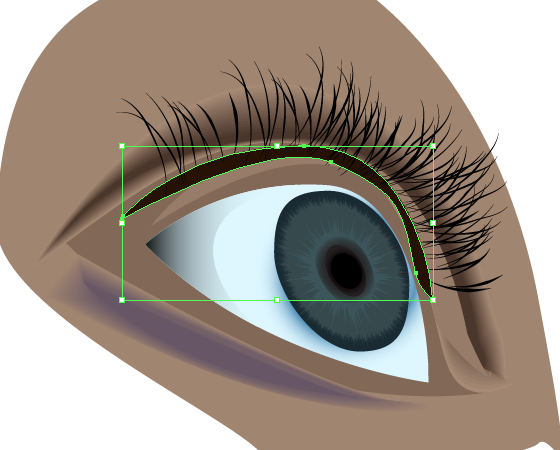
Use Effects> Guassian blur.
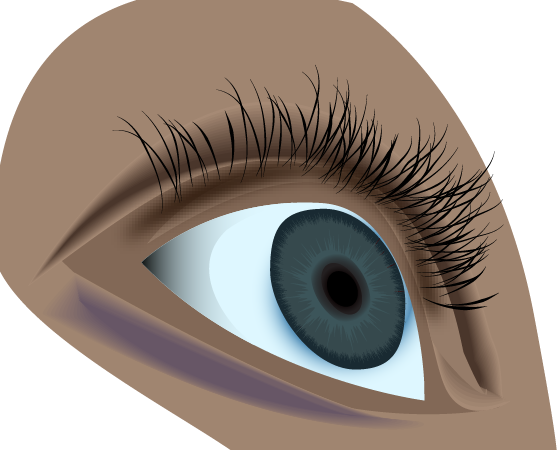
select the smaller cutout of the white area.
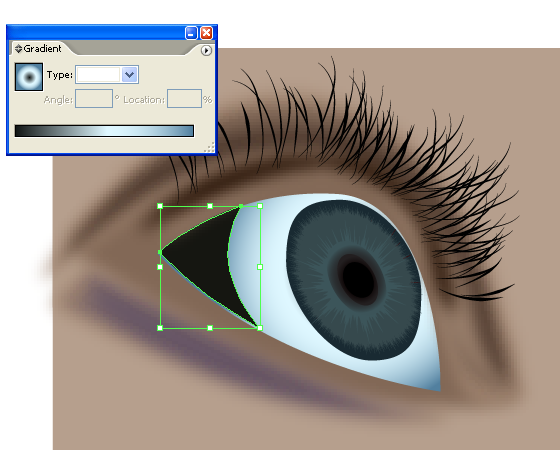
Using Effects > guassian Blur blur it a bit.
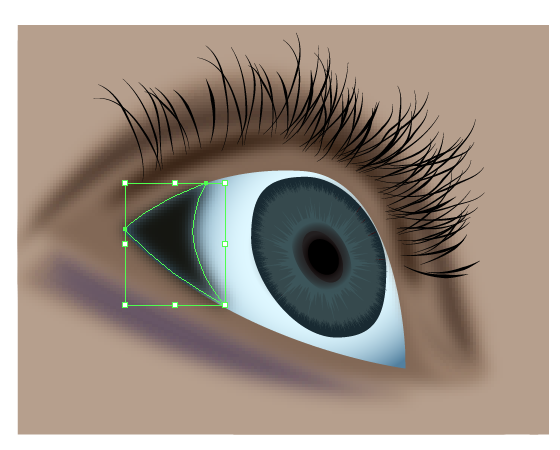
Lower the transparency of the said cutout.
Select the shape above the eye and use guassian blur to blur it a bit.

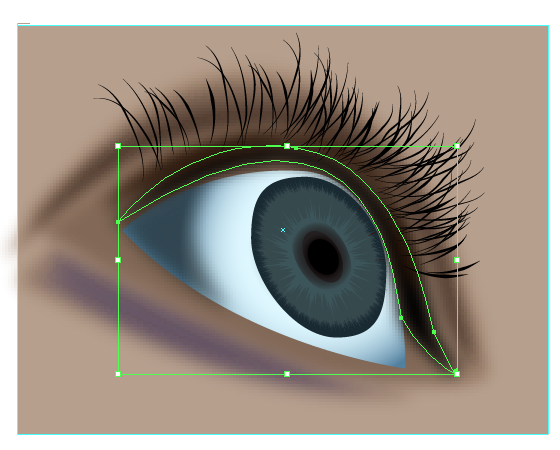
Create a shape as seen at the inner corner of the eye , note here i have using a stroke line to deepen the left side of the eye giving it a finished effect covering where skin meets the eye.
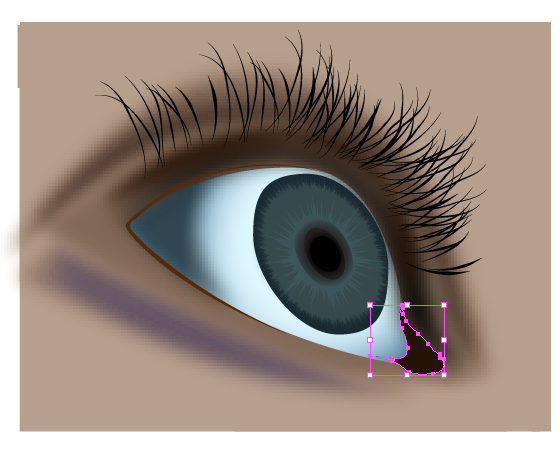
Create a copy of the large circle of the Pupil Use another copy arrange them and use path finder to cutout a crecent shape.
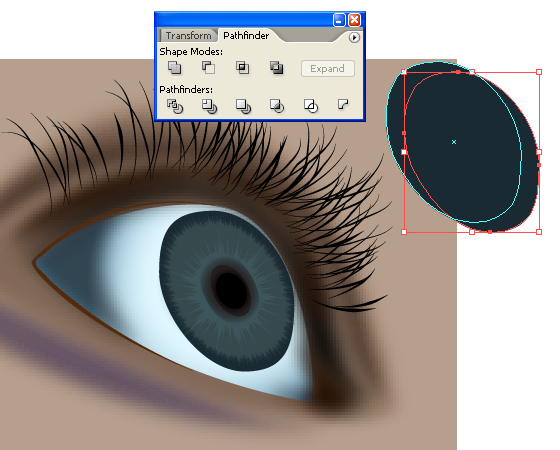
Place this shape over the left side of the pupil above your Crystallized pupil are , here you can see the arrangement of the areas of the eye watching this small swf preview.
Colour this crecent a darker tone
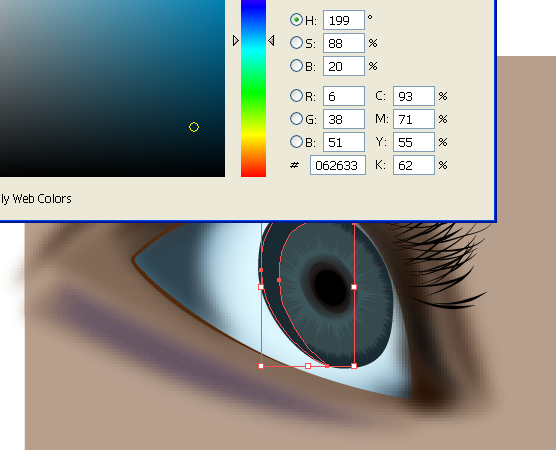
Use guassian Blur to blur that crecent part as well.
Placing some shine in the pupil area. Create a shape as follows.
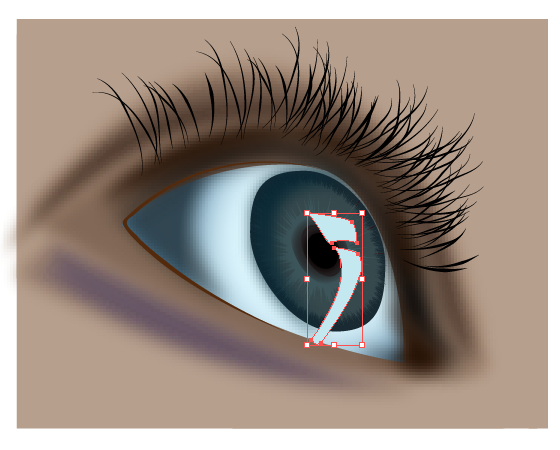
Save a copy of it
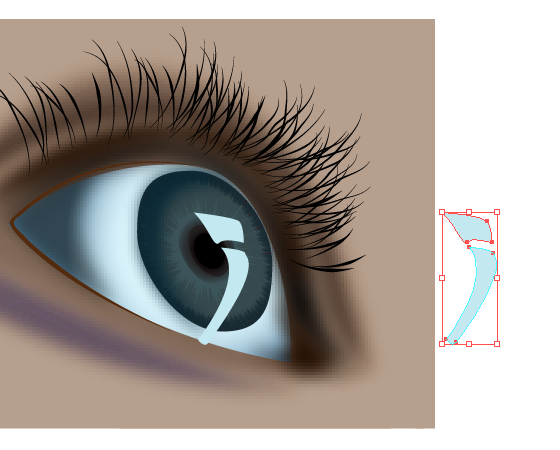
Blur this shape as well .
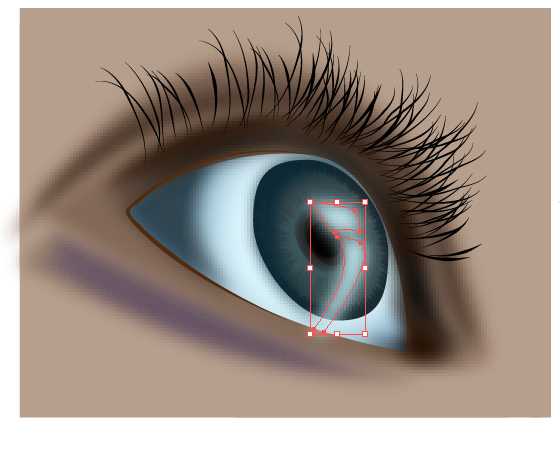
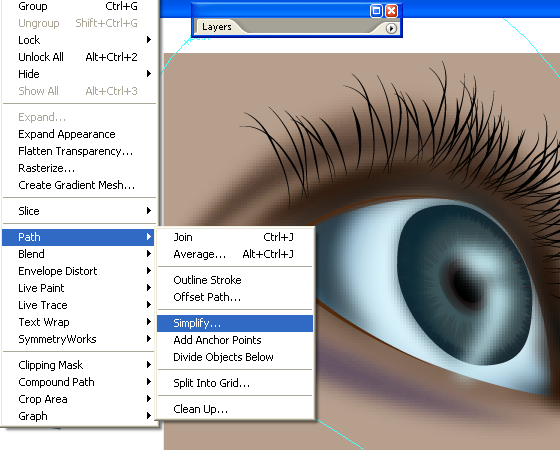
Select the saved copy of the shine shape . and go to object> path > simplify
Work on it to get a little simplified and a smaller shape than the original one .Something like this.
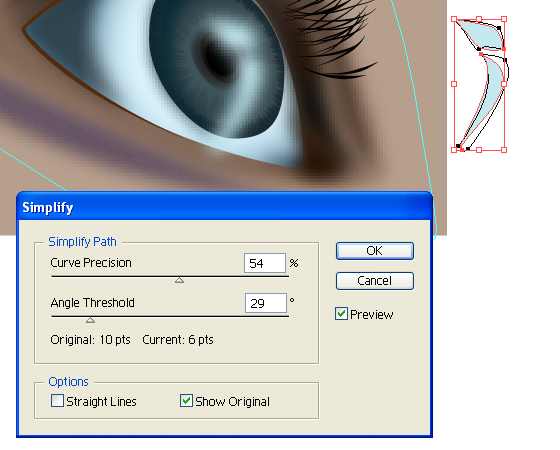
Place this over the top of the gradient shine shape
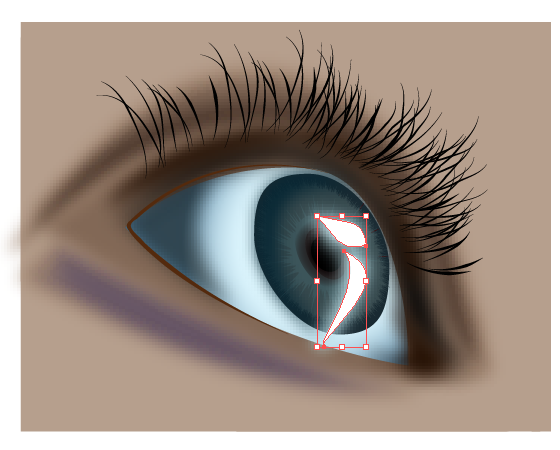
Reduce the opacity of the shine.
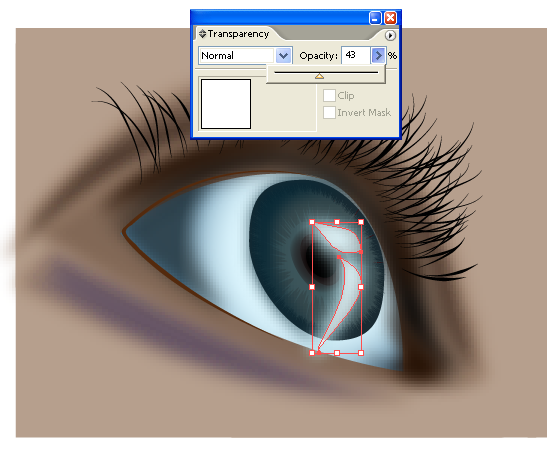
I here gave a little bit of gradient to the shine part..
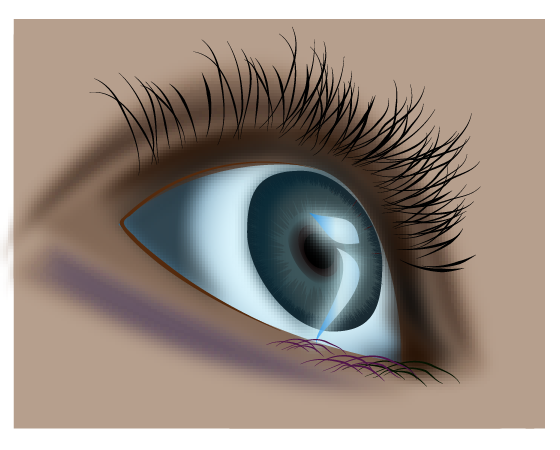
Feeling that left part of the eye needs more depth at this point since i am clearing and defining the areas. I drew another shape. For some of you out there these shapes are NOT perfect ones , This is what i am keeping it intentionally . i believe thing is original if it has a few flaws many wont agree with me here . but…. you are welcome to draw perfect shapes … i dont want the work to be too technical 🙂
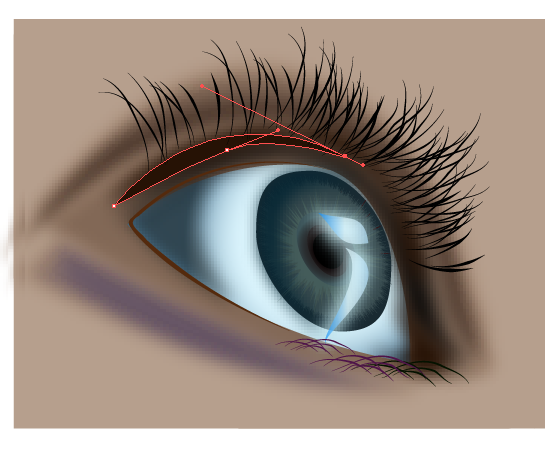
Since the eye is a shining one it will be reflecting the eyelashes so i dragged out another symbol of hair from the symbols pallette . and dropped , inverted , reflected it .and reduced the transparency of it.
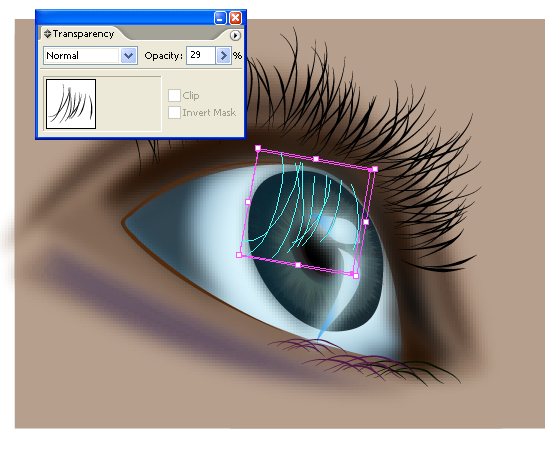
Draw another stroke over the pupil area.
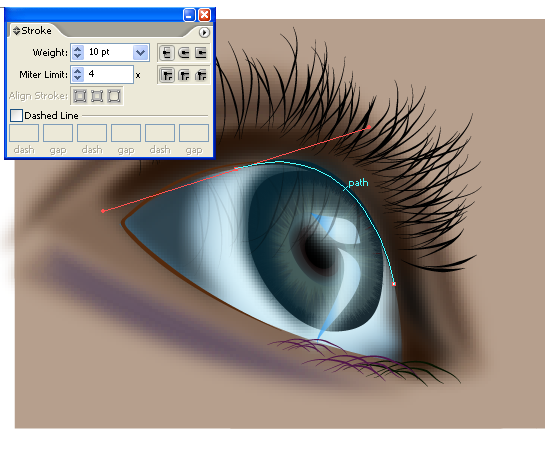
I have used the Line Art Brushes through out the strokes of the drawing ie , hair and lines. Those of you who dont have it already can download it from here.
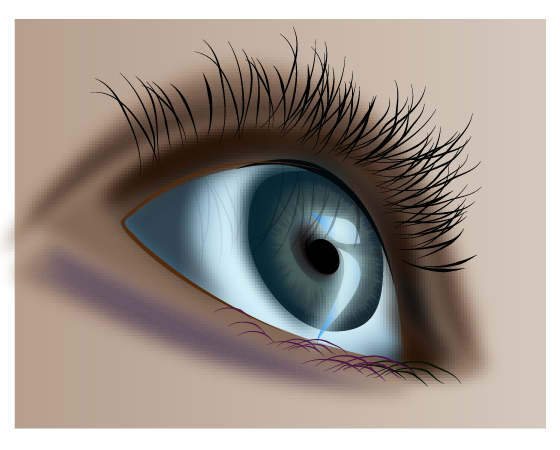
Create another small highlighted shape on the inner corner of the eye giving it a lighter shade and then use guassian blur to blur it a bit. here is our finished eye.

Conclusion : we have used line art brushes to draw our basice drawing , used symbols of hair growth to create eye lashes . Used knife tool , gradient , pathfinder , strokes and crystallizing option to create the eye as seen . This is the second tutorial in creating portraits . Previous tutorial in the same series in Creating lips if you have missed it you can check it out here.!
subscribe to Our Rss feed to get the next part in your inbox !
Source file of this tutorial is currently not available


